
Introduction
Every lost sale hurts your bottom line. But adding a seamless checkout can boost conversions fast.
In this guide, you’ll learn how to get Stripe payment gateway set up step by step. Moreover, we’ll show best practices to avoid common pitfalls.
![[Insert infographic illustrating the “Cart → Checkout → Payment” flow]](https://payapprove.in/wp-content/uploads/2025/05/add56eca-4eb8-4720-8aca-0214dd523adc-1-1024x576.png)
What is the Stripe Payment Gateway, you might ask?
Well, the first thing you have to know is the very nature of such a service. Stripe is a service intended for developers that simplifies the handling of e-commerce payment transactions. It also processes payments online for any size of business, where payment processing is secure, reliable, and scalable.
Core Features & Benefits
- Global card processing: Accept Visa, MasterCard, and more in 135+ currencies.
- Built-in fraud protection: Leverages machine learning to flag risky transactions.
- Developer APIs: Easy to customize checkout and back-end workflows.
- Integrated reporting: View sales, disputes, and activity in one dashboard.
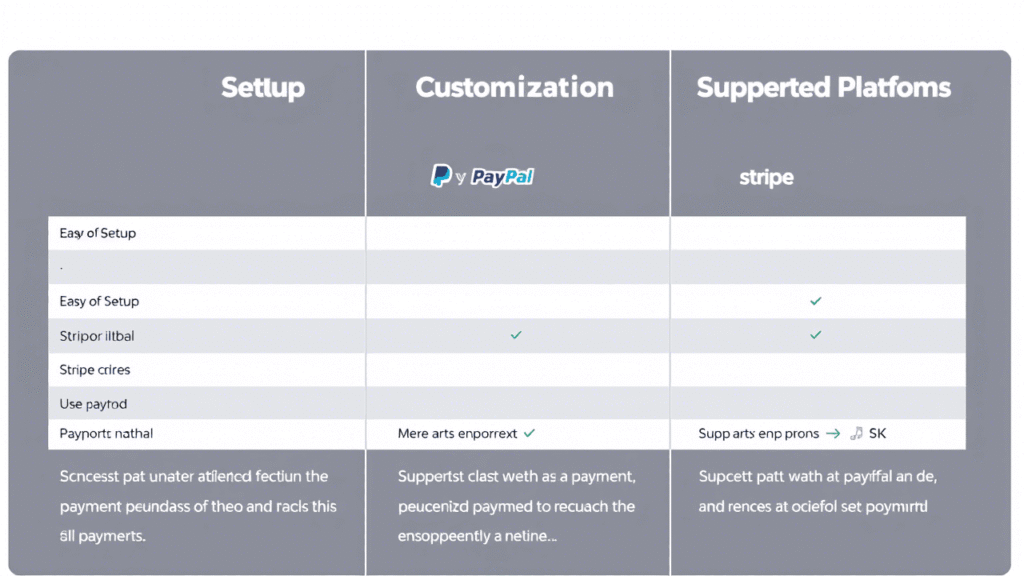
![[Insert table comparing Stripe vs. PayPal vs. Square, highlighting processing fees, global support, and API flexibility]](https://payapprove.in/wp-content/uploads/2025/05/37dcc61f-db4c-4416-b5e9-b1cdcbb70f92-1-1024x576.png)
Pricing Overview
Stripe’s pricing stays simple and transparent. You pay per transaction, with no monthly fees. For U.S.–based businesses:
- 2.9% + 30¢ per successful card charge
- 1% for international cards
- 0.8% on currency conversion
Use Cases
Stripe adapts to many business models:
- E-commerce stores: Seamless checkout for one-time purchases.
- Subscriptions & memberships: Automated recurring billing.
- Marketplaces & platforms: On-behalf payouts to sellers.
FAQ
- Can I use Stripe for digital products?
Yes. Stripe’s flexible APIs let you charge one-time or recurring fees.
Internal link: See our post on How to Get PayPal Payment Gateway
External link: Learn more in the Stripe Payments documentation
Creating Your Stripe Account (Getting Started)
To learn how to get Stripe payment gateway, you first need a Stripe account. This process takes just a few minutes and sets you up for live payments.
Signing Up
- Business details: Legal name, address, and website URL.
- Bank information: Account number, routing number, and account holder name.
- Contact info: Email, phone, and representative’s name.
curl https://api.stripe.com/v1/accounts \
  -u sk_test_4eC39HqLyjWDarjtT1zdp7dc: \
  -d "type"="custom" \
  -d "country"="US" \
  -d "email"="owner@example.com"
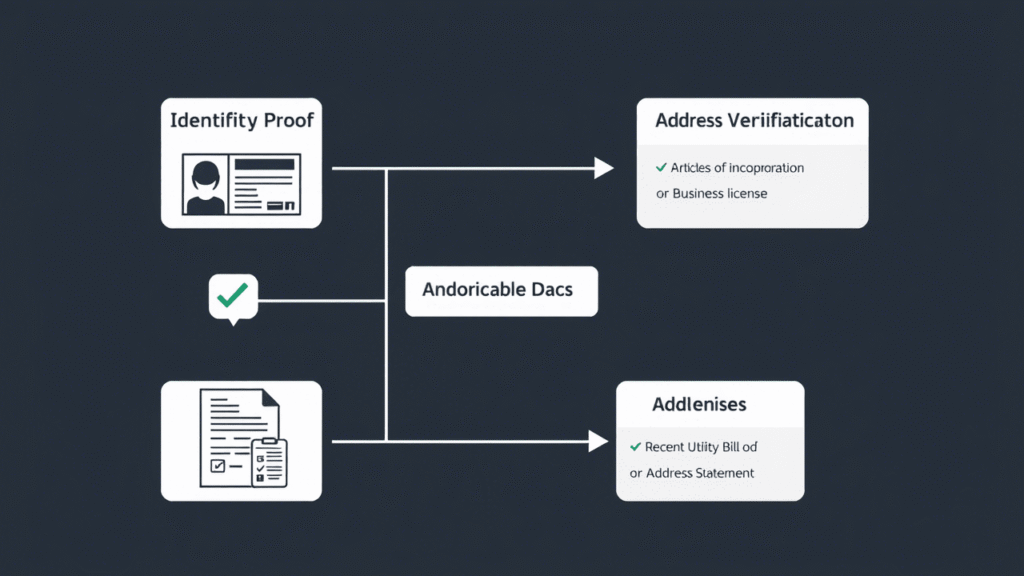
Verifying Your Business
- Identity proof: Government ID for your representative.
- Business docs: Articles of incorporation or business license.
- Address verification: Recent utility bill or bank statement.
API Keys & Dashboard Tour
- Test vs. live keys: Use test keys (
sk_test_…) before going live. - Key rotation: Regenerate keys every 90 days for security.
- Dashboard overview: Payments, refunds, and analytics tabs.

Integrating Stripe into Your Website
When you’re ready to learn how to get Stripe payment gateway on your site, integration is the next step. Below, we cover three main methods plus setup, code samples, and webhook handling.
Choosing Your Integration Method
- Stripe Checkout: Prebuilt, hosted payment page.
- Stripe Elements: Customizable UI components you embed.
- Mobile SDKs: Native Android and iOS libraries.
Installing the Stripe SDK
- npm/yarn:
# Using npm npm install stripe # Using yarn yarn add stripe - CDN:
<script src="https://js.stripe.com/v3/"></script>

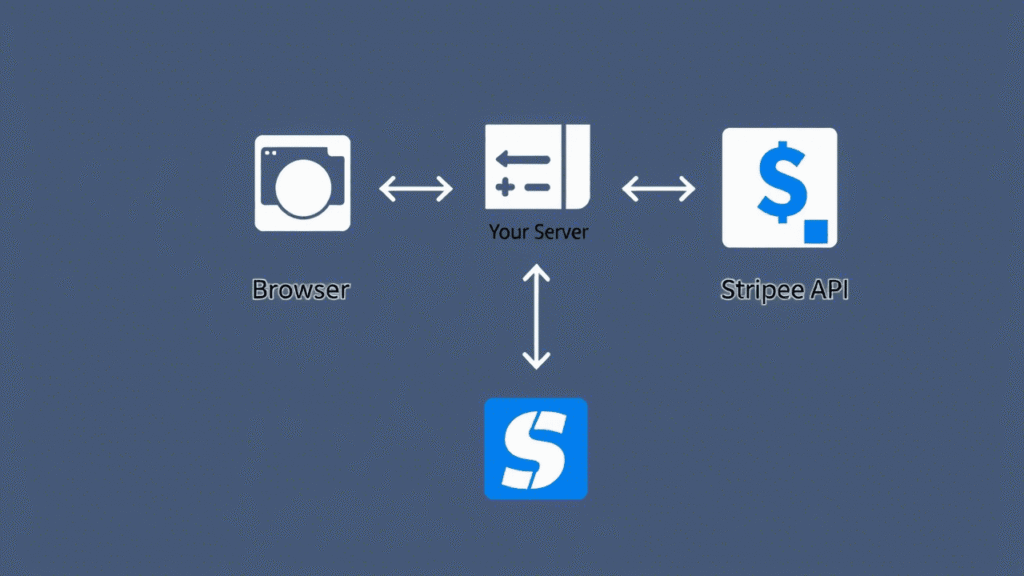
Building a Checkout Flow
- Front-end: Create a payment form that collects payment details.
- Back-end: Generate a PaymentIntent to securely process charges.
- Example (Node.js):
// server.js const stripe = require('stripe')(process.env.STRIPE_SECRET_KEY); app.post('/create-payment-intent', async (req, res) => { const { amount, currency } = req.body; const paymentIntent = await stripe.paymentIntents.create({ amount, currency, }); res.send({ clientSecret: paymentIntent.client_secret }); });
Handling Webhooks
- Why use webhooks? To confirm payment status and handle events reliably.
- Key events:
payment_intent.succeeded,charge.failed. - Example (Python Flask): pythonCopyEdit
from flask import Flask, request import stripe stripe.api_key = 'sk_live_…' app = Flask(__name__) @app.route('/webhook', methods=['POST']) def webhook_received(): payload = request.data sig_header = request.headers.get('Stripe-Signature') event = stripe.Webhook.construct_event( payload, sig_header, 'whsec_…' ) if event['type'] == 'payment_intent.succeeded': handle_success(event['data']['object']) return '', 200

Testing, Going Live, and Best Practices
Once you’ve integrated everything, the final phase of how to get Stripe payment gateway running is testing, switching to live mode, and following some key best practices.
Running Test Transactions
Before accepting real payments, use Stripe’s test mode:
- Use Stripe test card numbers (like
4242 4242 4242 4242) for basic success. - Test failure cases too (e.g.
4000 0000 0000 9995= card declined). - Simulate 3D Secure flows and disputes.
![[Insert table listing common test card numbers with expected outcomes]](https://payapprove.in/wp-content/uploads/2025/05/1e89685b-21a3-4e87-b719-2e6b4f6a79f7-1-1024x576.png)
Switching to Live Mode
Once you’re confident in testing:
- Swap test API keys for live keys in your environment files.
- Double-check webhook endpoints – Stripe must verify them.
- Run a real $1 charge to confirm things work cleanly.
Tip: Back up your
.envfiles and secure your production keys.
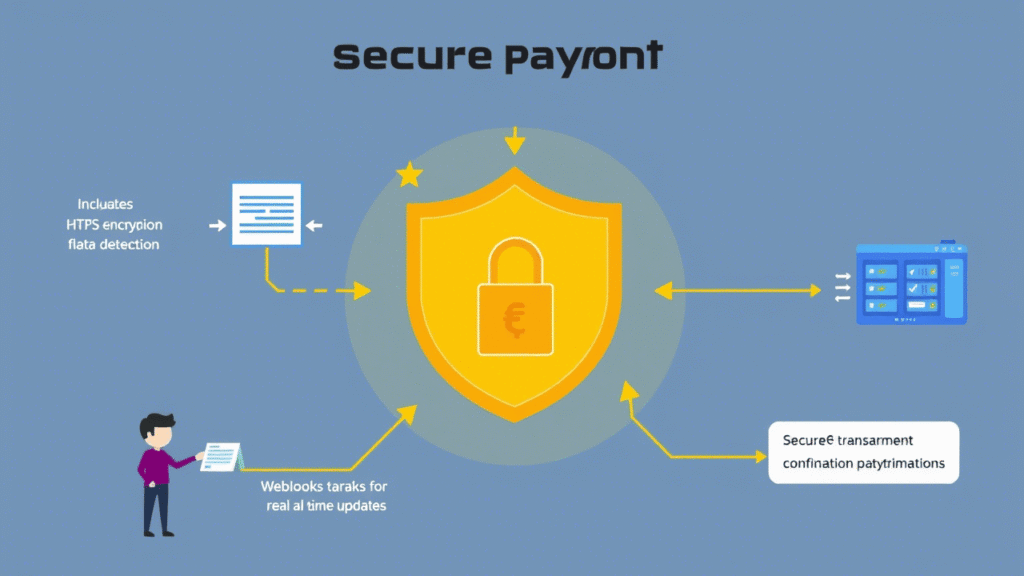
Security & Compliance Tips
Stripe helps, but you’re still responsible for basic security hygiene:
- Serve all pages over HTTPS only.
- Enable Stripe Radar rules for fraud prevention.
- Limit access to live API keys – rotate them every few months.
- Use two-factor authentication on your Stripe account.
Monitor & Scale
Once live, keep an eye on performance:
- Use the Dashboard’s analytics tab to watch trends.
- Set up email alerts for failed payments or chargebacks.
- Automate refunds or recurring tasks with custom code and webhooks.
Conclusion
Now you know exactly how to get Stripe payment gateway working—from creating your account to accepting real payments.
Alright, here’s the gist: Get what Stripe’s all about, and why everyone and their grandma seems obsessed with it lately.
- Understand what Stripe does and why it’s a top choice.
- Set up your account with the right info and documents.
- Choose an integration method that fits your site.
- Test carefully, then launch with confidence.
Stripe makes it easy to start. But how you implement it makes all the difference.
Ready to go live?
👉 Get started with Stripe now and start accepting payments today.