
Imagine losing sales because customers abandon carts at checkout. Today, online payments keep businesses thriving. Getting paid fast is crucial.
In this guide, we’ll explore how to get PayPal payment gateway for my website in simple steps. By the end, you’ll be ready to accept secure payments.
Why You Should Use PayPal Gateway for Your Website
Online shoppers trust PayPal more than other payment methods. This trust increases conversion rates. Moreover, PayPal offers robust security for every transaction.
Global Trust & Security
- Buyer Protection: PayPal reimburses eligible losses.
- SSL Encryption: All payments use strong HTTPS.
- Trust Seal: Display the PayPal badge to boost credibility.
Easy Integration
- Plugins & SDKs: Install ready-made modules.
- Popular Platforms: WordPress, Shopify, WooCommerce.
- Code Snippet: bashCopyEdit
composer require paypal/rest-api-sdk-php
| Platform | Plugin/SDK | Ease of Use |
|---|---|---|
| WordPress | WooCommerce PayPal | Very Easy |
| Shopify | PayPal Express | Easy |
| WooCommerce | PayPal Checkout | Very Easy |
Flexible Payment Options
- Credit Cards: Accept all major cards.
- E-checks: Direct withdrawals from bank accounts.
- PayPal Balance: Let customers pay instantly.
Prerequisites to Get PayPal Payment Gateway
Before you start the setup, ensure you have everything in place. First, verify your business meets PayPal’s requirements. Next, confirm your website platform supports PayPal integrations.
Business Requirements
- Legal Entity: Registered business name or sole proprietorship.
- Bank Account: Active checking account in your business name.
- Verification Documents: Government ID, address proof, and business certificate.
Website Platform
- Supported CMS: WordPress, Shopify, WooCommerce, or custom-built sites.
- Plugin vs. SDK: Choose a plugin for quick setup or SDK for custom code.
- PHP SDK Installation: bashCopyEdit
composer require paypal/rest-api-sdk-php
PayPal Account Type
- Personal Account: Basic buying and sending only.
- Premier Account: Adds seller features for individuals.
- Business Account: Best for online stores—access to API credentials and webhooks.
![[Insert a simple table comparing account features]](https://payapprove.in/wp-content/uploads/2025/05/644b3c23-5234-4497-be45-5f5d1697b89c-1-1024x576.png)
Step-by-Step Setup Guide
1. How to Get PayPal Payment Gateway for My Website: Sign Up or Log In
First, visit PayPal and choose “Business Account.”
Then, fill in your business details.
Next, verify your email and bank account.
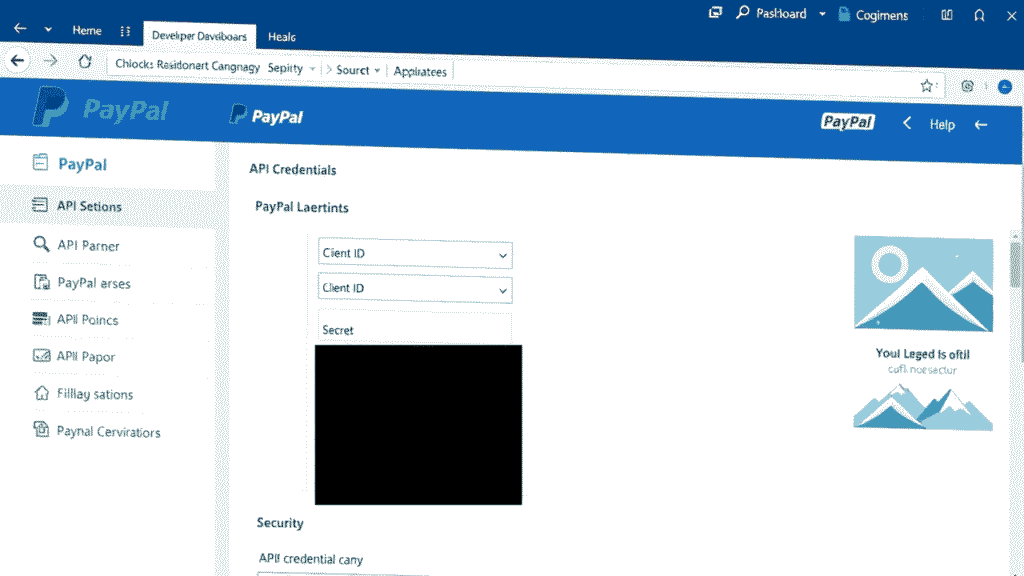
2. Generate API Credentials
Log in to the PayPal Developer Dashboard.
Next, click My Apps & Credentials.
Then, create a new REST API app.
Finally, copy the Client ID and Secret.
3. Install SDK or Plugin
For custom code, install the PHP SDK:
composer require paypal/rest-api-sdk-php
Alternatively, add the PayPal plugin in WordPress or Shopify.
Next, activate and configure with your API credentials.
4. Configure Webhooks (Optional)
Webhooks send real-time payment updates to your server.
First, go to Webhook section in your app settings.
Then, add your site’s endpoint URL.
Finally, select events like PAYMENT.SALE.COMPLETED.
5. Test in Sandbox Mode
Switch to Sandbox in the Developer Dashboard.
Create a sandbox buyer and merchant account.
Next, process a test payment on your site.
Finally, confirm funds appear in your sandbox merchant balance.
Common Troubleshooting Tips
When PayPal isn’t working as expected, these tips will help you resolve issues quickly.
API Credential Errors
- Mismatch Environment: Ensure you’re using sandbox credentials in sandbox mode and live credentials in production.
- Typo in Client ID/Secret: Copy-paste directly from Developer Dashboard to avoid mistakes.
- Regenerate Keys: If problems persist, delete and recreate your REST API app.
SSL Certificate Warnings
- Valid Certificate: Confirm your site’s SSL certificate is current and trusted by browsers.
- HTTPS Enforcement: Redirect all HTTP traffic to HTTPS in your server or CMS settings.
- SSL Test: Run an SSL Labs scan to catch configuration errors.
![[Insert a screenshot of an SSL Labs grade report]](https://payapprove.in/wp-content/uploads/2025/05/a5e2de78-b0dd-4aa6-bc20-7cb8b4e56032-1-1024x576.png)
Currency & Region Limits
- Supported Currencies: Verify your account supports the currencies you want to accept.
- Regional Availability: Some PayPal features vary by country—check PayPal’s regional tables.
- Account Settings: In your business profile, enable additional currencies if needed.
| Currency | Supported Regions | Notes |
|---|---|---|
| USD | Worldwide | Default for most accounts |
| EUR | Europe, select countries in Asia | Requires business verification |
| INR | India | Only in Indian business plans |
Conclusion
In summary, you now know how to get PayPal payment gateway for my website in five clear steps. You’ve covered prerequisites, account setup, API integration, and testing. Plus, you’ll troubleshoot common errors with ease.
Ready to accept secure payments and boost conversions? Get started with PayPal today!
PayPal Error Codes (https://developer.paypal.com/docs/api/overview/#error-codes)
check out our first blog: https://payapprove.in/how-to-integrate-razorpay-in-wordpress/