Introduction
You’ve spent hours fine-tuning your WordPress site—now imagine converting that hard work into revenue almost instantly. When you integrate Razorpay in WordPress, you unlock a secure, PCI-compliant checkout that your visitors will trust.
Whether you sell e-books, run a subscription service, or offer one-off consultations, a seamless payment flow means fewer abandoned carts and more happy customers.
Why Use Razorpay in WordPress?
Choosing Razorpay in WordPress delivers a seamless payment flow, high security, and multi-currency support. Moreover, it integrates directly into your store without redirecting customers.
Key Benefits
- Instant Checkout: Customers pay without leaving your site, boosting conversions.
- Multi-currency Support: Accept payments from global audiences with auto currency conversion.
- Robust Security: Built-in PCI DSS compliance shields data and reduces risk.
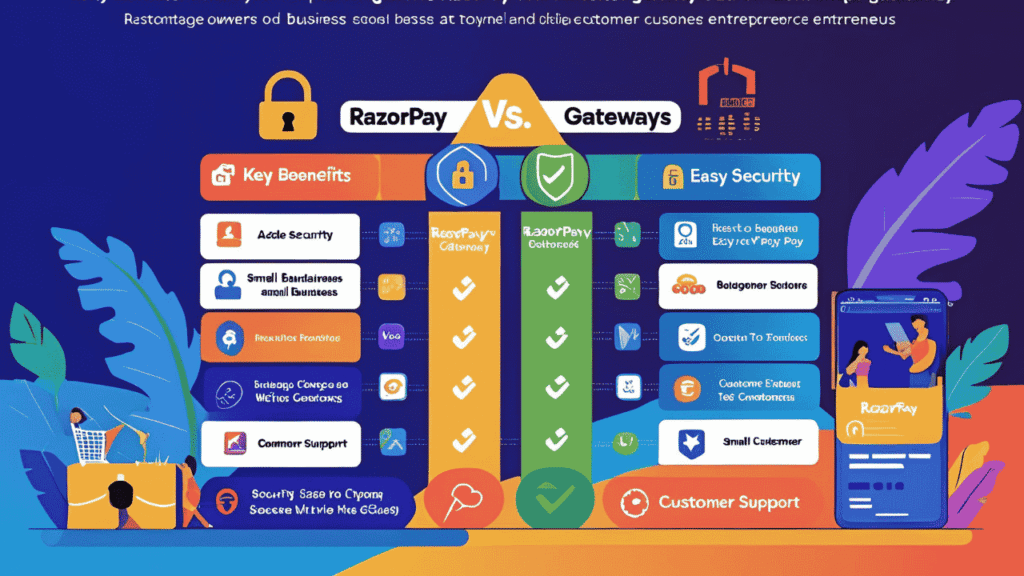
Razorpay vs. Other Gateways
To compare options, we’ve laid out fees, setup time, and developer support:
- Transaction Fees: Razorpay’s competitive rates start at 2% + GST.
- Ease of Setup: Setup takes under 10 minutes with official plugins.
- Developer Support: Offers clear docs and a native WordPress plugin.
Also see our guide on Choosing the Right WordPress Payment Gateway. For full API details, visit the Razorpay Documentation.
Real-world Examples
Additionally, many stores trust Razorpay for smooth checkout:
- E-commerce: A boutique shop increased sales by 15% with one-click pay.
- Membership Sites: Monthly subscriptions run automatically via Razorpay’s recurring API.
- Digital Downloads: Instant file delivery after successful payment.

Prerequisites for Integrating Razorpay in WordPress
Before you start integrating Razorpay in WordPress, make sure your site environment and accounts are ready.
WordPress Version & Hosting Requirements
Your WordPress installation should be version 5.0 or above to ensure full compatibility.
You’ll need PHP 7.2+ with at least 128 MB of memory and cURL enabled.
An SSL certificate (HTTPS) is mandatory—Razorpay won’t process payments on non-secure sites.
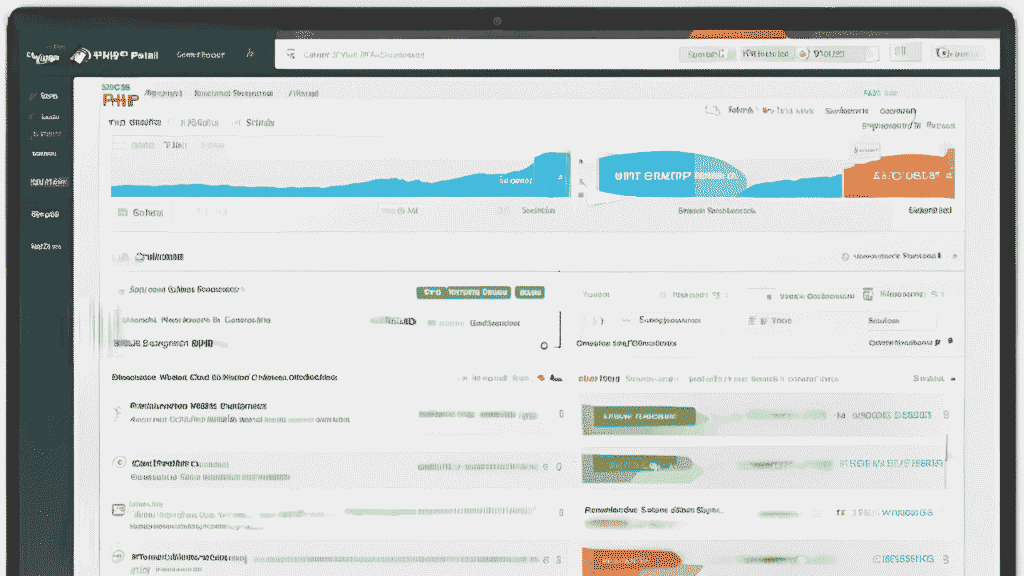
Razorpay Account Setup
Sign up for a free Razorpay account and complete the KYC process—this usually takes 1–2 business days.
Verify your business details and link your bank account to receive payouts.
Once approved, grab your Key ID and Key Secret from Settings → API Keys in the Razorpay dashboard.

Necessary Plugins & Tools
Install and activate one of these:
- Razorpay for WooCommerce (if you run a WooCommerce shop)
- Official Razorpay WordPress plugin (for general payment forms)
Navigate to Plugins → Add New, search for “Razorpay,” then click Install and Activate.
Paste your API credentials into Settings → Razorpay in WordPress.
Step-by-Step Guide to Integrate Razorpay in WordPress
Follow these steps to get Razorpay up and running on your WordPress site in under 10 minutes.
1. Install & Activate the Razorpay Plugin
- In your WP dashboard, go to Plugins → Add New.
- Search for “Razorpay”, then click Install Now and Activate.
- Confirm the “Razorpay for WooCommerce” or “Razorpay Payment Gateway” plugin is listed under Installed Plugins.

2. Configure API Keys
- Log in to your Razorpay Dashboard and navigate to Settings → API Keys.
- Click Generate Key (if none exists), then copy the Key ID and Key Secret.
- Back in WordPress, open WooCommerce → Settings → Payments → Razorpay (or Settings → Razorpay).
- Paste the Key ID and Key Secret into the corresponding fields and click Save Changes.

3. Create a Test Payment Form
- On any page or post, add the shortcode:
echo do_shortcode('[razorpay_checkout amount="50000" currency="INR"]'); - Replace
amount="50000"with your desired amount in paise. - Publish the page and run a test transaction using the Razorpay test cards.
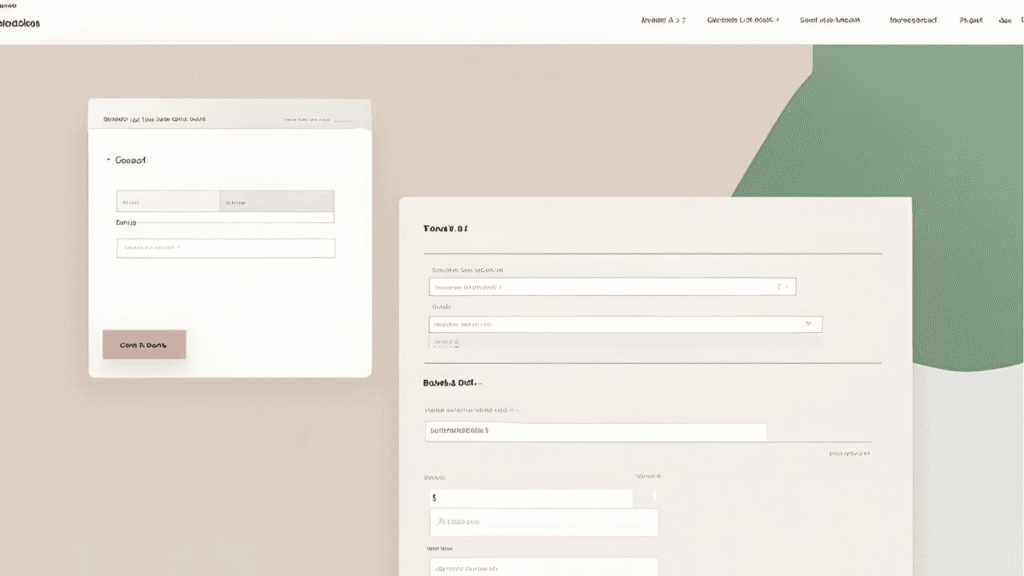
4. Switch to Live Mode & Go Live
- Return to Settings → API Keys in Razorpay and generate Live keys.
- Replace your test Key ID and Key Secret in WordPress with the live ones.
- Disable “Test Mode” in the plugin settings and save.
- Perform a real transaction of a small amount to confirm live setup.
Troubleshooting Common Issues
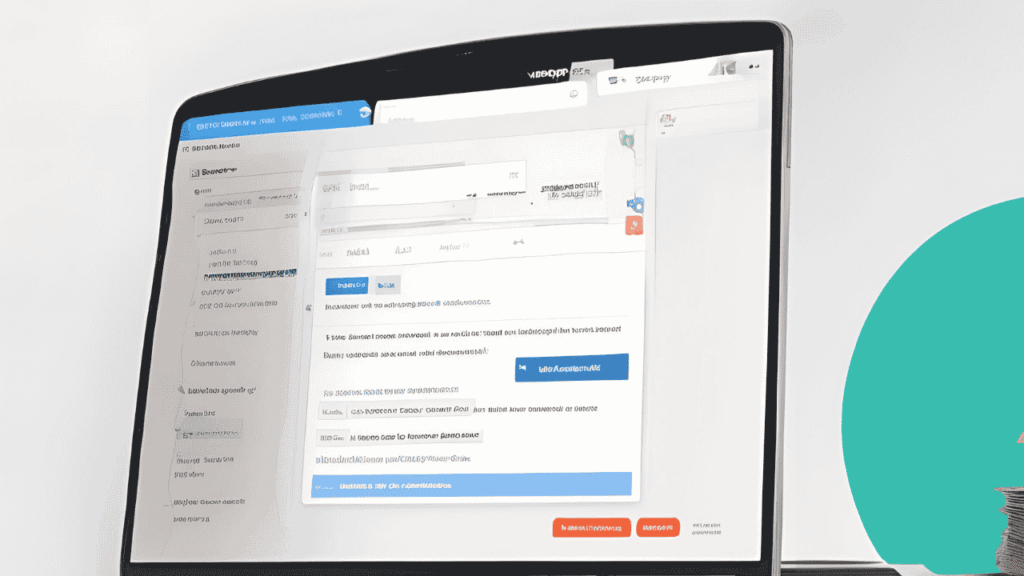
Troubleshooting Razorpay Integration in WordPress can save you time when payments don’t go through. Below are the most frequent snags—and how to fix them.
API Key Errors
If you see “Invalid Key” or “Authentication failed,” double-check that:
- You’ve copied the Key ID and Key Secret exactly (no extra spaces).
- You’re using test keys in test mode and live keys in live mode.
- Your site’s time zone matches the one in your Razorpay dashboard.
SSL & CORS Issues
Razorpay requires HTTPS. If payments stall or you see CORS errors in the console:
- Ensure your SSL certificate is valid and not expired.
- Force HTTPS in WordPress (e.g. via your host’s control panel or a plugin).
- Add this to your
.htaccessto redirect all HTTP to HTTPS: apacheconfCopyEdit<IfModule mod_rewrite.c> RewriteEngine On RewriteCond %{HTTPS} !=on RewriteRule ^ https://%{HTTP_HOST}%{REQUEST_URI} [L,R=301] </IfModule>
Plugin Conflicts
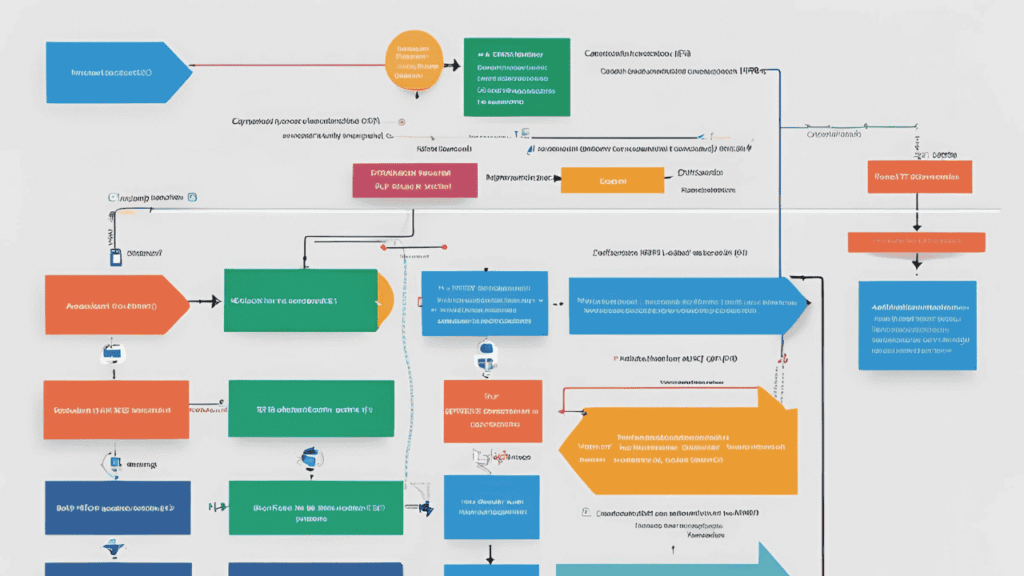
Sometimes another plugin interferes with Razorpay’s JavaScript or checkout process. To isolate conflicts:
- Deactivate all other payment or checkout plugins.
- Reactivate them one by one, testing a transaction each time.
- Use the Health Check & Troubleshooting plugin to switch to a “clean” theme without affecting visitors.
Conclusion
Integrating Razorpay in WordPress unlocks secure, seamless payments without redirecting customers off your site. You’ve learned why to choose Razorpay, what you need before you start, how to set it up step-by-step, and how to troubleshoot common issues.
Ready to dive in? How to Integrate Razorpay in WordPress is now at your fingertips—start accepting payments today and watch your conversions climb.
Next Steps:
- 🔗 Internal: Explore our Complete WooCommerce Beginner’s Guide for more on running an online store.
- 🔗 External: Visit Razorpay’s official Getting Started page for advanced tips and API references.
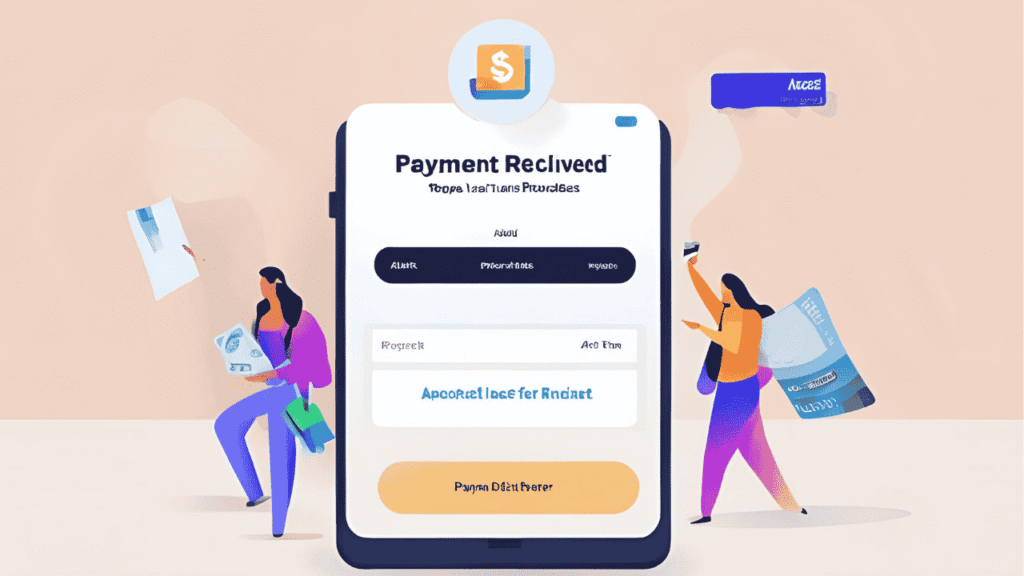
Check your API keys, SSL setup, time zone, and plugin logs for errors.
Yes, use Razorpay’s Subscriptions API and integrate it with your WordPress site.
Refunds can be issued via the Razorpay dashboard or through their API.


1 thought on “How to Integrate Razorpay in WordPress – Beginner’s Guide”