
Introduction
Deactivate Your UPI Account whenever you no longer wish to use the service or suspect unauthorized transactions. In this article, you will learn what deactivating means, why you might choose to do it, and exactly how to complete the process on Google Pay, PhonePe, and Paytm. Additionally, we’ll share troubleshooting advice and best practices so that you can manage your digital payments securely.
Why You Should Deactivate Your UPI Account
When you deactivate your UPI account, you remove your phone number and bank link from the Unified Payments Interface (UPI). Consequently, no one can send money to you via that UPI ID. Moreover, deactivation halts any pending auto-pay or scheduled payments. Below are a few reasons why it makes sense to Deactivate Your UPI Account:
- Suspected Fraud or Compromise: If someone tries unauthorized transactions using your phone.
- Phone Lost or Stolen: To prevent misuse of UPI services if you cannot recover your device quickly.
- Switching Banks or Numbers: When you change to a new bank or get a new SIM card and need to unlink the old account.
- Temporary Break from Digital Payments: If you plan to shift to alternative payment methods for some time.
H3: What Happens After Deactivation
- Payment Requests Fail: Any request sent to your old UPI ID will bounce back.
- Linked Apps Lose Access: Google Pay, PhonePe, Paytm—or any other UPI-enabled app—can no longer initiate transactions through that bank account.
- Data Remains Secure: UPI servers keep your details encrypted; deactivation just severs the active link.
Learn more about UPI and VRU here.
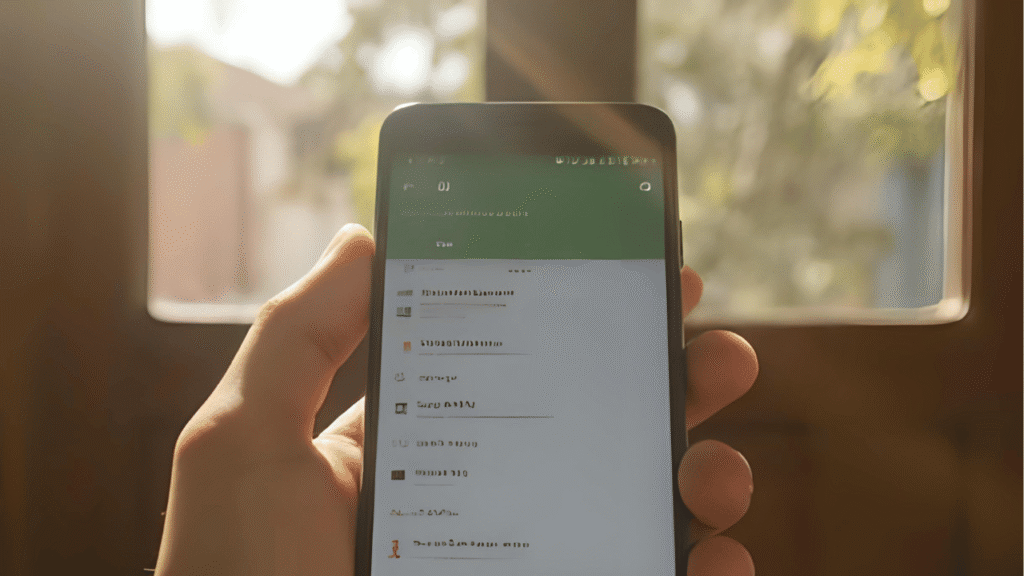
How to Deactivate Your UPI Account on Google Pay
Deactivate Your UPI Account on Google Pay in a few simple steps. Firstly, ensure you have the latest version of the app installed. Then, follow these instructions:
H3: Step 1 – Open Google Pay and Access Profile
- Open Google Pay on your smartphone.
- Tap your profile icon in the top-right corner.
H3: Step 2 – Navigate to Payment Methods
- Choose “Settings” from the menu.
- Tap “Payment methods” or “Bank accounts.”
H3: Step 3 – Select the Bank Account to Deactivate
- A list of your linked bank accounts appears.
- Tap the bank whose UPI you want to deactivate.
H3: Step 4 – Deactivate UPI
- Scroll down and tap “Remove UPI” or “Deactivate UPI.”
- Confirm on the prompt: “Yes, remove” or “Deactivate.”
- Your UPI ID for that bank is now inactive.
H4: Pro Tips for Google Pay Deactivation
- Ensure no pending UPI transactions; wait for any refunds to complete.
- Save any transaction history you may need before deactivating.
- You can reactivate by adding the same bank account again and setting up a new PIN.
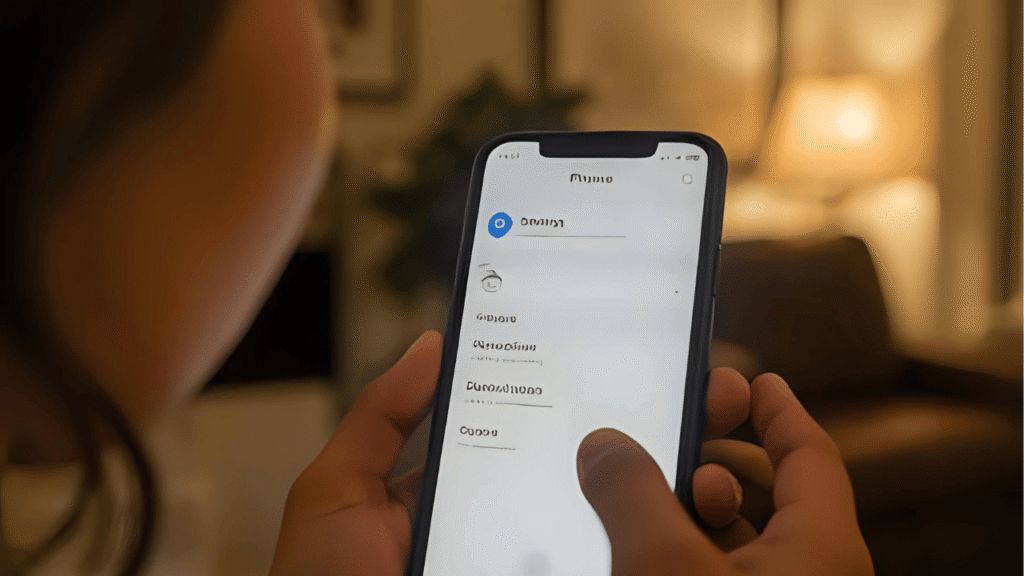
How to Deactivate Your UPI Account on PhonePe
If you prefer PhonePe, Deactivate Your UPI Account there by following these steps. However, note that removing UPI from PhonePe also deletes all pending auto-pay authorizations. First, check that your app is updated. Then:
H3: Step 1 – Open PhonePe and Tap “My Money”
- Launch the PhonePe app.
- Tap “My Money” at the bottom of the screen.
H3: Step 2 – Choose Bank Accounts
- Under “UPI & Accounts,” tap “Bank Accounts.”
- You’ll see all banks linked for UPI.
H3: Step 3 – Deactivate UPI for a Specific Bank
- Tap the bank that you wish to remove.
- Select “Deactivate UPI” or “Remove UPI.”
- Confirm by tapping “Yes, Remove.”
H3: Step 4 – Confirm Deactivation
- You’ll see a message: “Your UPI ID has been deactivated.”
- Tap “OK” to finish.
H4: PhonePe Deactivation Tips
- Remove any scheduled payments or subscriptions tied to UPI before deactivation.
- If you change your mind, you must re-link the bank and set up UPI again.
- Keep your PhonePe app free of cache if deactivation fails once.
How to Deactivate Your UPI Account on Paytm
Paytm also allows you to Deactivate Your UPI Account quickly. In addition, removing UPI on Paytm halts any auto-debit mandates. To ensure a smooth process, follow these steps:
H3: Step 1 – Open Paytm and Go to Profile
- Tap “Paytm” on your device.
- Tap your profile icon in the top-left corner.
H3: Step 2 – Access “My Bank Accounts”
- Scroll down to “My Payments & Wallet” section.
- Tap “Bank Accounts.”
H3: Step 3 – Select the Bank and Deactivate UPI
- Choose the bank whose UPI you want to deactivate.
- Tap “Deactivate UPI” or “Remove UPI.”
- Confirm by tapping “Deactivate.”
H3: Step 4 – Verify Deactivation
- A confirmation message appears: “UPI deactivated for [Bank Name].”
- Tap “OK” or “Done.”
H4: Best Practices for Paytm Deactivation
- Clear any stored UPI PINs from the app to avoid accidental transactions.
- Double-check that no recurring payments are linked to the UPI ID.
- Use the latest Paytm version to avoid app glitches during deactivation.
For official instructions on UPI services, visit NPCI’s UPI page here.
Troubleshooting UPI Account Deactivation
At times, deactivation might fail or hang. Below is a table that lists potential errors and solutions. Formatting it as a quick reference helps you resolve issues quickly:
| Error Message | Possible Cause | Solution |
|---|---|---|
| “Server Error” or “Try Again Later” | NPCI or App Server Down | Wait 10–15 minutes and retry. |
| “Network Unavailable” | Poor Internet Connection | Switch to a stable Wi-Fi network or mobile data. |
| “Authentication Failed” | Session Timeout or App Not Updated | Update the app, then log out and log in again. |
| “UPI ID Not Found” | No Active UPI ID on That Bank | Confirm UPI was set up before deactivating; if not, skip deactivation. |
| “Pending Transaction” | You Have an Unsettled UPI Payment | Clear pending or failed transactions before attempting deactivation again. |
H3: Common Errors and How to Fix Them
- Error: Unable to connect to bank server.
- Fix: Check that you have good network strength.
- Error: OTP not received when confirming deactivation.
- Fix: Verify your registered mobile number is active, and then request the OTP again.
- Error: App freezes during deactivation.
- Fix: Clear the app cache or reinstall the app, then try again.
H3: When to Contact Customer Support
If all above steps fail, contact your bank’s UPI support or use in-app chat. Provide them with:
- Your registered mobile number.
- The bank account and UPI app you are using.
- A screenshot of any error message you see.
Conclusion
To summarize, deactivating your UPI account gives you control over your payment links and stops unauthorized transactions. First, choose which app you use—Google Pay, PhonePe, or Paytm. Next, navigate to the bank settings and select “Deactivate UPI.” Finally, confirm the deactivation and verify that no pending payments remain. Remember to save any transaction history before proceeding. By following these steps, you can safely Deactivate Your UPI Account and maintain peace of mind.
Call to Action: Ready to secure your finances? Deactivate Your UPI Account today using one of the apps above, and stay in full control of your payments!