
Introduction
Imagine losing a sale because your site can’t accept payments. However, e-commerce is booming, yet many businesses lack a checkout solution. In this guide, you’ll learn how to get payment gateway step by step.
First, we’ll explore what a payment gateway does. Next, we’ll cover provider selection, approval steps, and technical integration.

What Is a Payment Gateway and Why You Need One
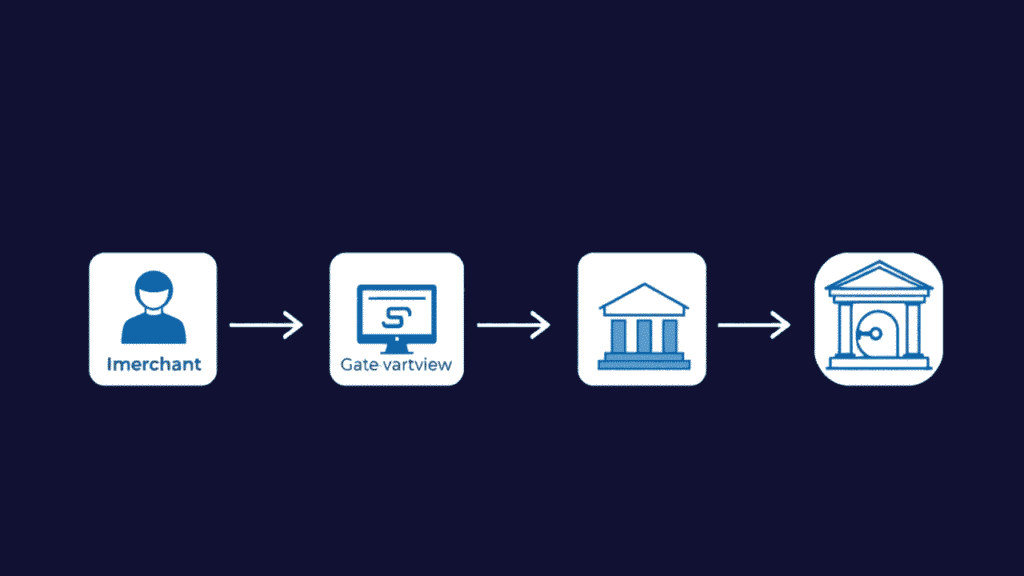
A payment gateway acts as the digital bridge between your customer’s bank and your business account. In other words, what is a payment gateway in practice? It securely authorizes transactions, encrypts sensitive data, and approves or declines payments in seconds.
Definition & Core Function
- It routes payment information from your website to banks.
- It encrypts card data to prevent fraud.
- It returns approval or decline status instantly.
- Example: When a shopper clicks “Pay,” Stripe or PayPal processes the request.
Types of Gateways
- Hosted gateways redirect buyers to a provider’s secure page.
- Integrated gateways stay on your site via API or plugin.
Business Use Cases
- E-commerce stores need 24/7 transaction handling.
- Subscription services rely on recurring billing features.
- Digital creators sell downloads or memberships.
- Nonprofits collect donations with minimal setup.
Step-by-Step: How to Get Payment Gateway for Your Site
To begin, you’ll learn how to get payment gateway on your website in four clear steps. Next, we’ll cover provider research, document prep, application, and technical integration.
Research & Compare Providers
First, survey the top payment gateways. Then, compare fees and features side by side.
- Top providers: Stripe, Razorpay, PayPal, Authorize.net, Square
- Comparison criteria:
- Transaction fees
- Supported countries
- Currency options
- Setup costs
Gather Required Documents
Next, collect all necessary KYC and business proofs before you apply.
- Business registration certificate
- Bank account statement (last three months)
- Government-issued ID (passport or driver’s license)
- Address proof (utility bill or rental agreement)
Application & Approval Process
After gathering docs, submit your application online. Approval usually takes 1–7 days.
- Fill out the provider’s online form with business details
- Upload scanned documents in PDF or JPG format
- Monitor email for approval status and next steps
Technical Integration
Finally, integrate the gateway into your platform. You can use a plugin or direct API calls.
 Example: Stripe simple checkout integration
const stripe = Stripe('your-publishable-key');
stripe.redirectToCheckout({
  sessionId: 'YOUR_SESSION_ID',
});
- Plugin method: Install the official plugin and enter your API keys.
- API method: Use the code snippet above and handle webhooks for confirmations.
- Testing: Always test in sandbox mode before going live.

Common FAQs on Getting a Payment Gateway
Below are answers to the most frequent questions about getting a payment gateway for your site.
What Are the Costs Involved?
Most gateways charge several fee types.
- Setup fees: One-time, usually $0–$100.
- Per-transaction fees: Often 2.5% + $0.30.
- Monthly fees: Some charge $10–$30 for advanced features.
- Additional fees: Chargebacks or currency conversion may apply.
How Long Does Approval Take?
Approval times vary by provider and region.
- Standard review: 1–3 business days.
- Enhanced KYC: 5–7 business days if extra checks are needed.
- High-risk businesses: May take up to 2 weeks.
- Tip: Submit complete documents to speed things up.
Which Gateway Is Best for Small Businesses?
Small operations need low fees and simple setup.
- Stripe: No monthly fee, pay-as-you-go.
- PayPal: Instant setup, slightly higher per-transaction cost.
- Square: Flat 2.6% + $0.10 for in-person & online.
- Comparison chart: ProviderSetup FeeTransaction FeeMonthly FeeStripe$02.9% + $0.30$0PayPal$03.49% + $0.49$0Square$02.6% + $0.10$0
Can You Switch Gateways Later?
Yes, migration is straightforward if planned well.
- Export data: Transactions and customer info first.
- Test new gateway: Run in sandbox before going live.
- Update integration: Swap API keys or plugin settings.
- Notify customers: Inform recurring-billing clients of the change.
Internal link: For Razorpay Integration, see our Integrate Razorpay in WordPress.
External link: Learn more at PayPal Business – https://www.paypal.com/business
Conclusion
In short, you now know how to choose, apply for, and integrate a payment gateway. With these steps, you can start accepting payments securely.
Ready to boost sales? Apply for your payment gateway today and transform your checkout experience. Learn how to get payment gateway.